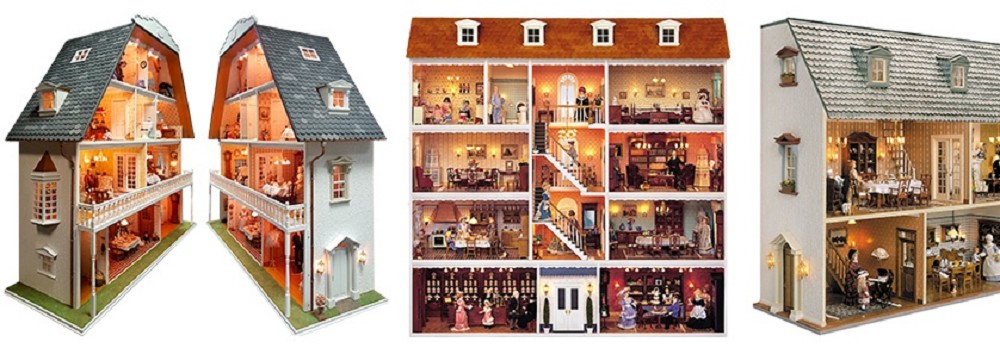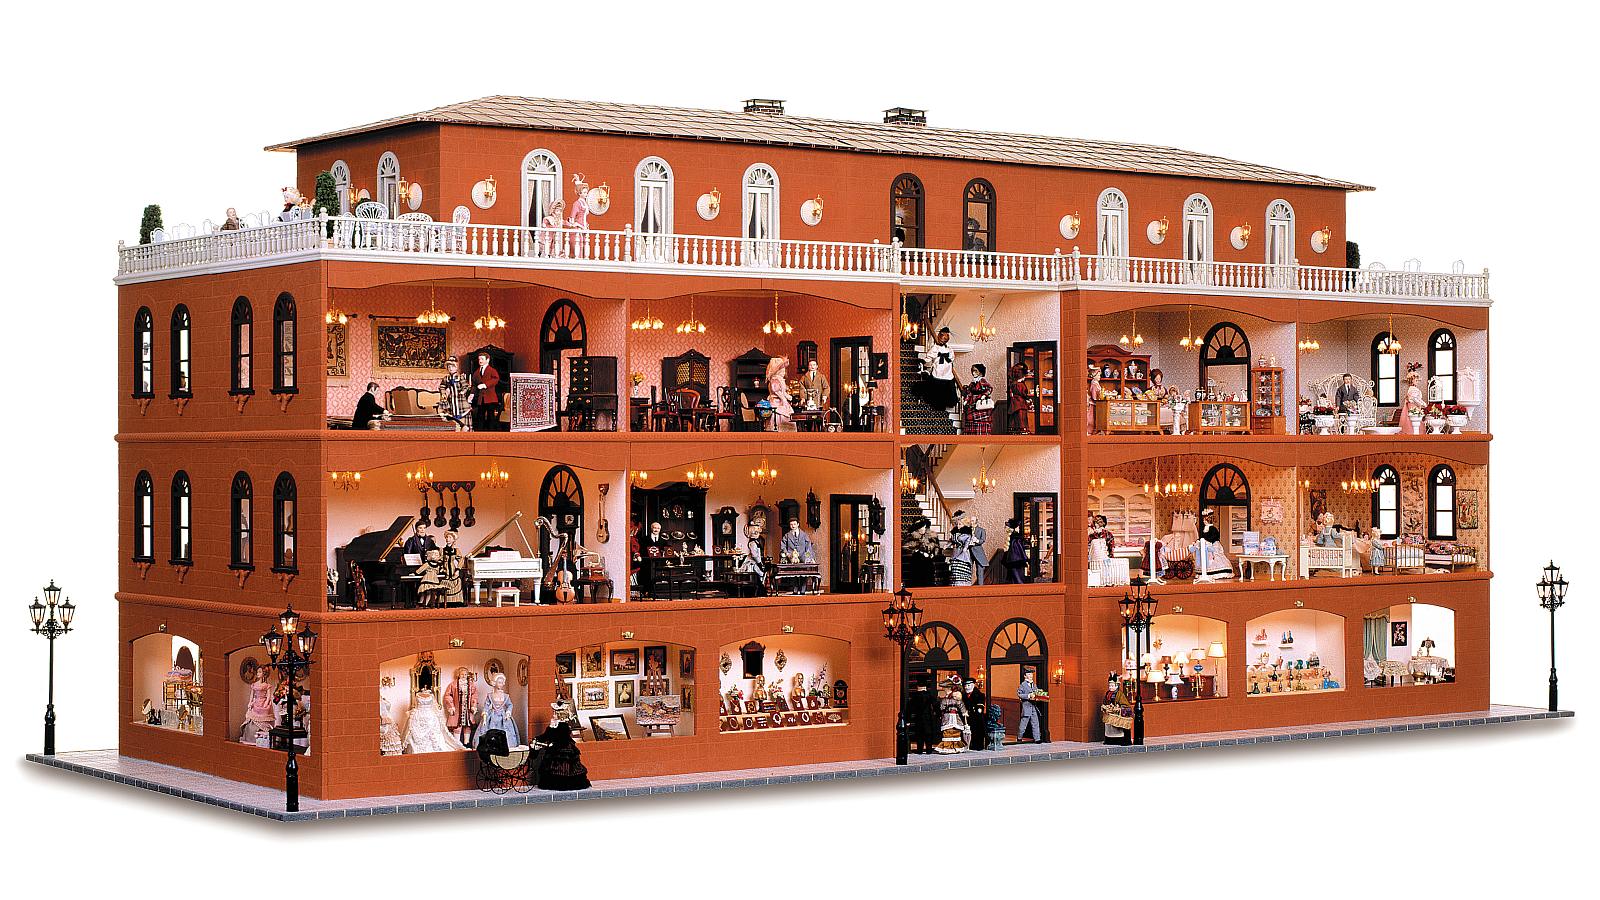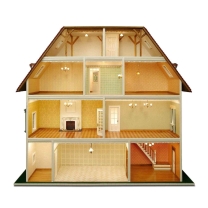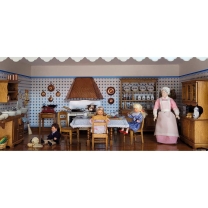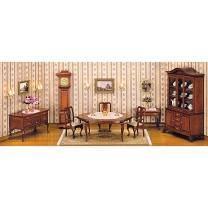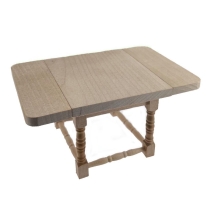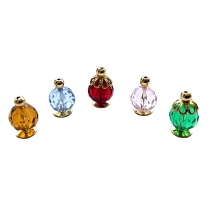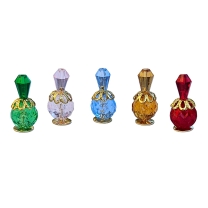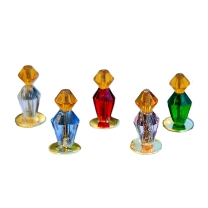
Experience the fascination of a unique model-building and collection idea.
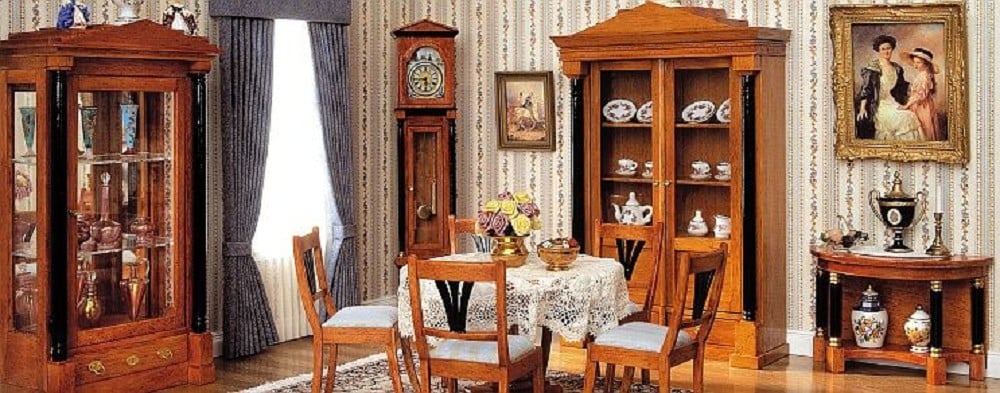
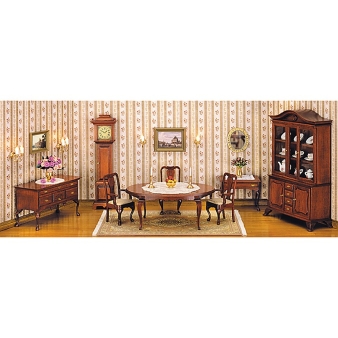
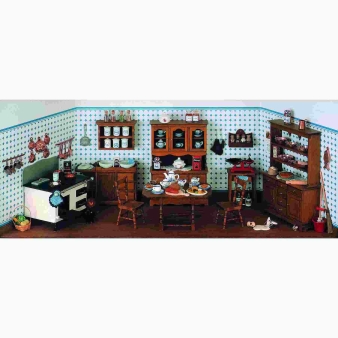
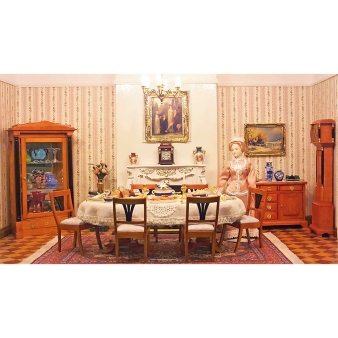
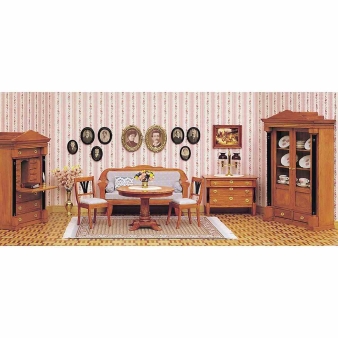
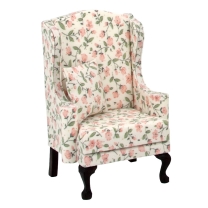
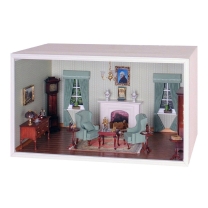
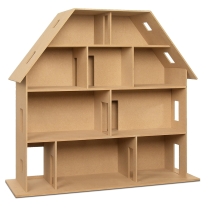
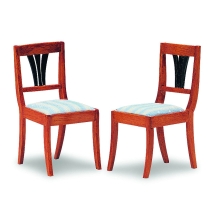
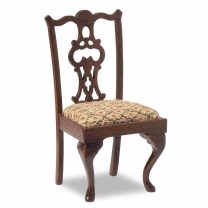
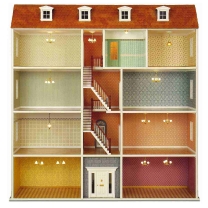
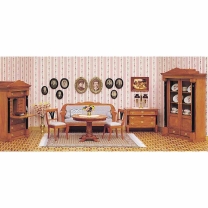
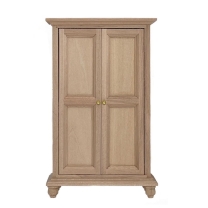
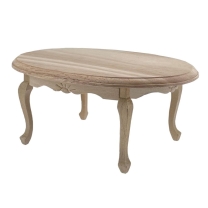
With the furniture construction kits of MINI MUNDUS, you can create miniatures in a scale of 1:12 that correspond to large models of past stylistic periods.
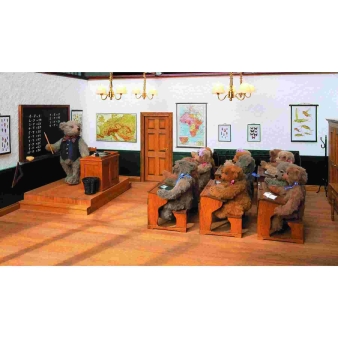
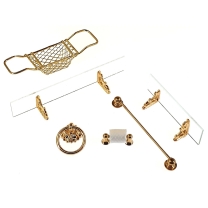
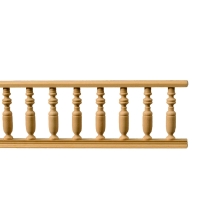
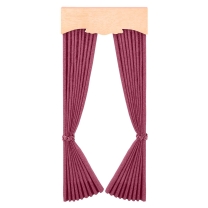
With the aid of the true-to-detail furniture and accessories, you can create your own big little world, a world that you can bring to life with our high-quality porcelain dolls matching the style.
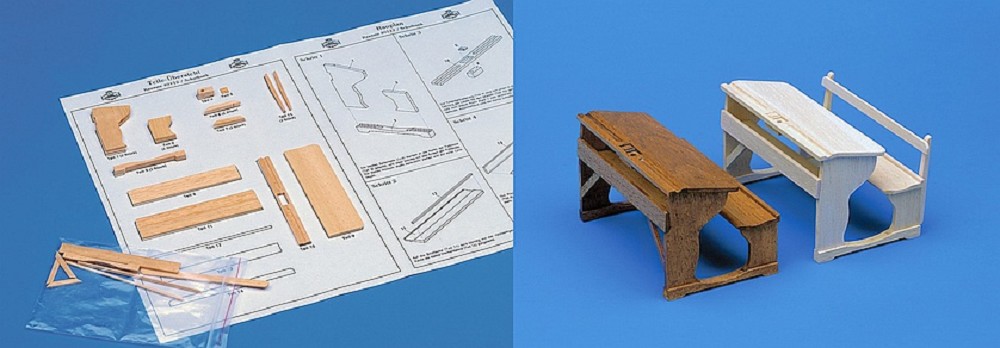
The detailed construction manual describes each step with additional, easy-to-understand sketches, pictures, and detail drawings:
The MINI MUNDUS collection includes over 700 items and more than 70 different furniture construction kits.
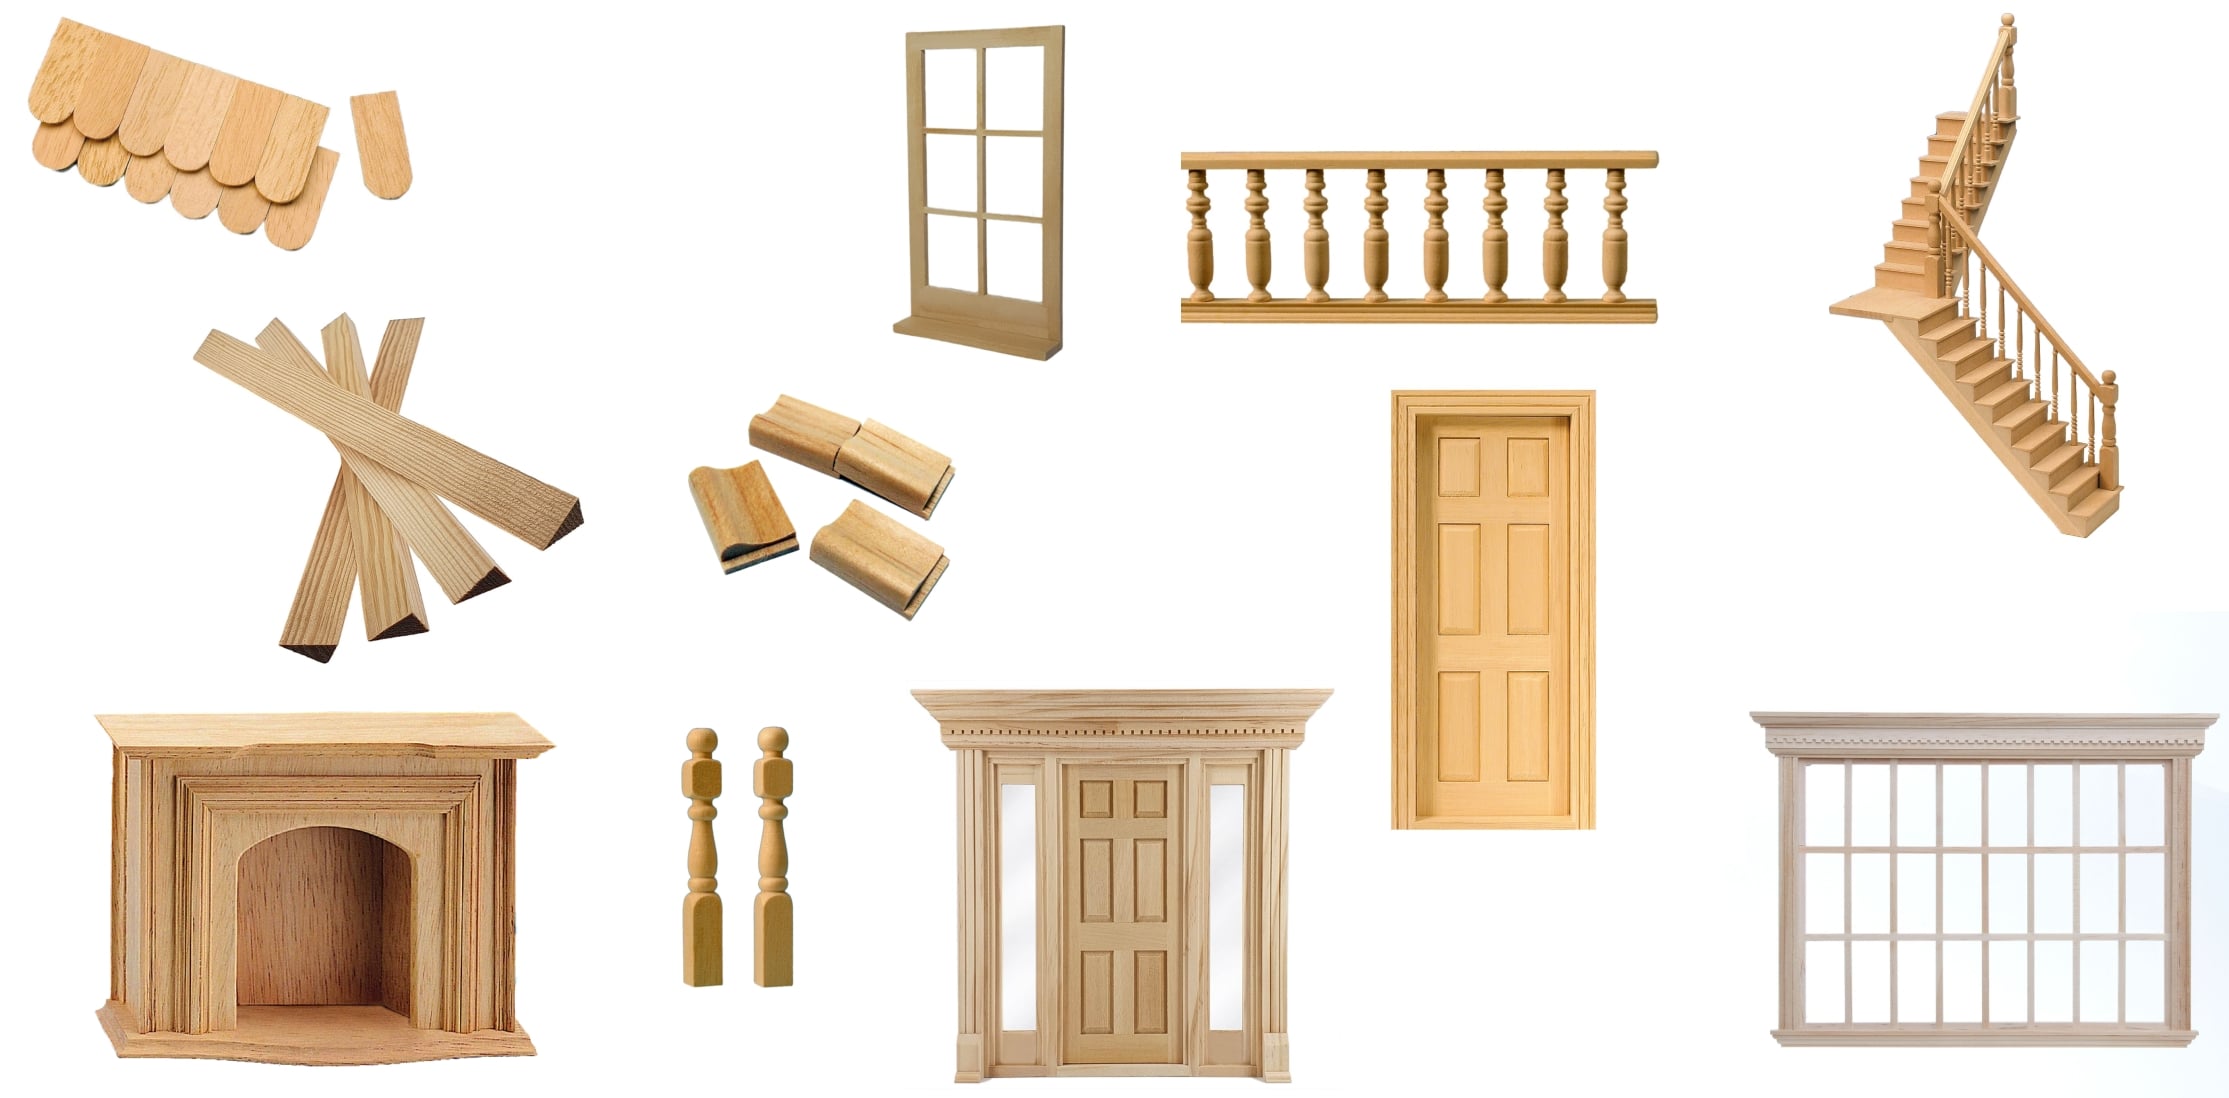
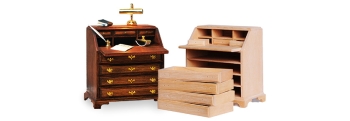
Every package of a furniture construction kit contains all natural wood components, the brass fittings and a detailed construction manual for assembling the miniature furniture.
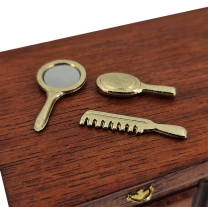
Small and fine details:
To glue the construction kits, use our light brown colored cold wood glue (43017). If standard wood glue or adhesive is used, bright spots form after applying liquid wax or stain if the wood glue or adhesive touches visible wood surfaces.
Surface treatment
Before each assembly, you should sand the wood parts lightly with sandpaper (43020) so that any fingerprints or dirt are removed and furniture has a satin-smooth finish. All wood parts are custom-made, some of them with grooves. This means that all cutting or sawing is unnecessary, making the assembly process simple and trouble-free.
The subsequent surface treatment with our special cherry (43004) wood wax = Biedermeier or mahogany (43002) wood wax = Chippendale is just as easy.
With our patina (43006), you can then give the mahogany surface its typical old English furniture look:
Patina - The method for professional Mahogany finishing
This method for professional Mahogany finishing enables you to finish your furniture by the same process used by the professional furniture makers.
If you would like to give your English period furniture a genuine period look after being treated with liquid wax with patina, you should seal the surfaces and the front sides of the wood with clear varnish (43007) before applying the patina in order to prevent the furniture surfaces from darkening in color.
For this professional process two more steps (Step 2 and Step 3) are necessary, but then it will give you the most authentic results in finishing.
Step 2: Sealing the wax coating
In order to seal the mahogany wax coating from subsequent coats that have the same solvent as the liquid wax, a sealer coat must be applied. Using the clear varnish apply a coat over the entire piece using a soft brush or sprayer. Whichever method is used, be sure there are no drop marks. This should merely be a thin coat.
Allow drying time of 6 hours or more.
Step 3: Application of Patina
Apply the patina with a brush, or rag, to the entire surface of your piece of furniture. Immediately wipe off all patina. At this point you have a choice of achieving two types of finishes.
Wiping the patina off evenly until only a very thin layer of colour remains will produce an attractive finish with the tone you have selected.
Highlighting is a technique of a light and a dark area that is accomplished by toning or rubbing off the patina in areas exposing the mahogany colour.
With a soft cloth starting blending zones of mahogany wax and patina by
rubbing off the patina starting from the middle of the piece and working outwards. The middle should be light with darker zones toward the outside edge. There should never be a sharp line of dark to light colour - but rather a smooth blending effect!
If you are not satisfied with your first attempt in highlighting repeat this procedure.
Allow drying time of 6 hours or more.
Step 4: Final finish or top coating
After the patina has dried thoroughly, wipe briskly but lightly the entire piece with a clean cloth. Using the clear varnish or clear wax apply an even coat over the entire surface of your piece of furniture with a soft brush, or sprayer.
Allow drying time of 8 hours or more. Repeat this procedure if necessary.

